
Extreme macro photography: behind the scenes (01)
Subject:
A robber fly specimen (from my garden)
That specimen was washed (for cleaning and rehydrating the eyes) and cleaned by using a magnification glass and a small painting brush.
Final output:

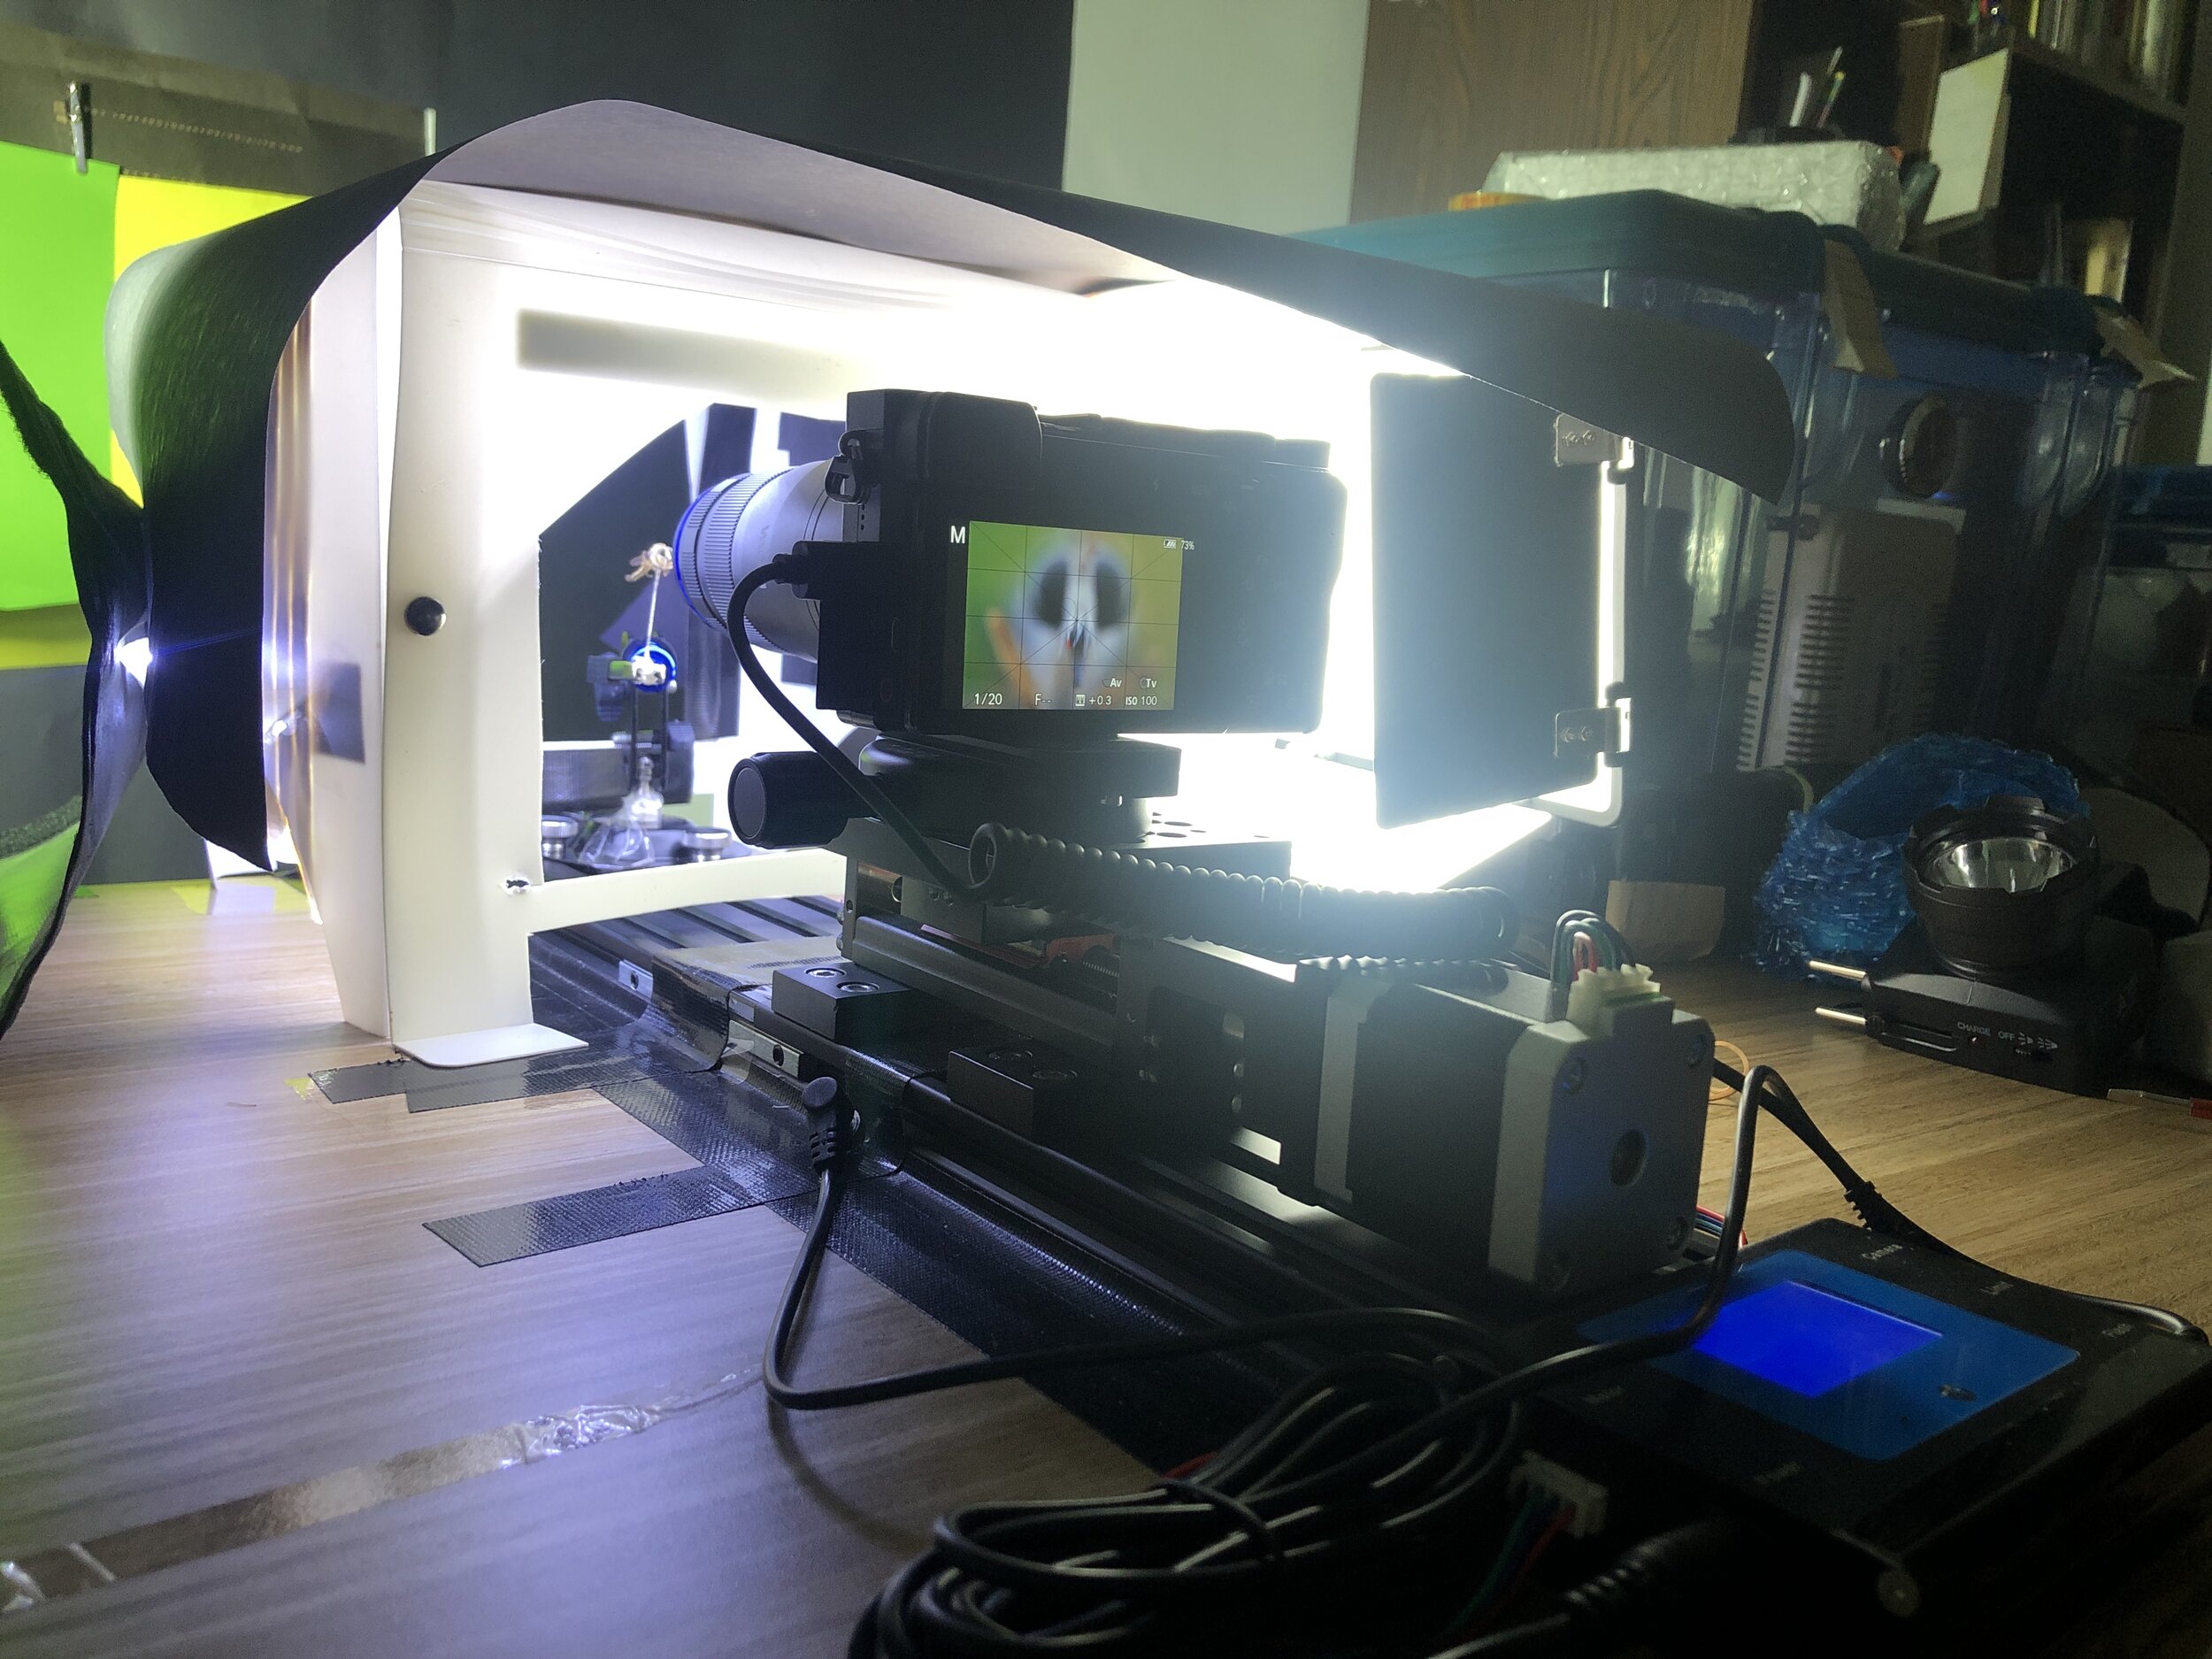
Equipment list:
Sony A6500
Laowa 25mm f/2.8 2.5-5X Ultra Macro
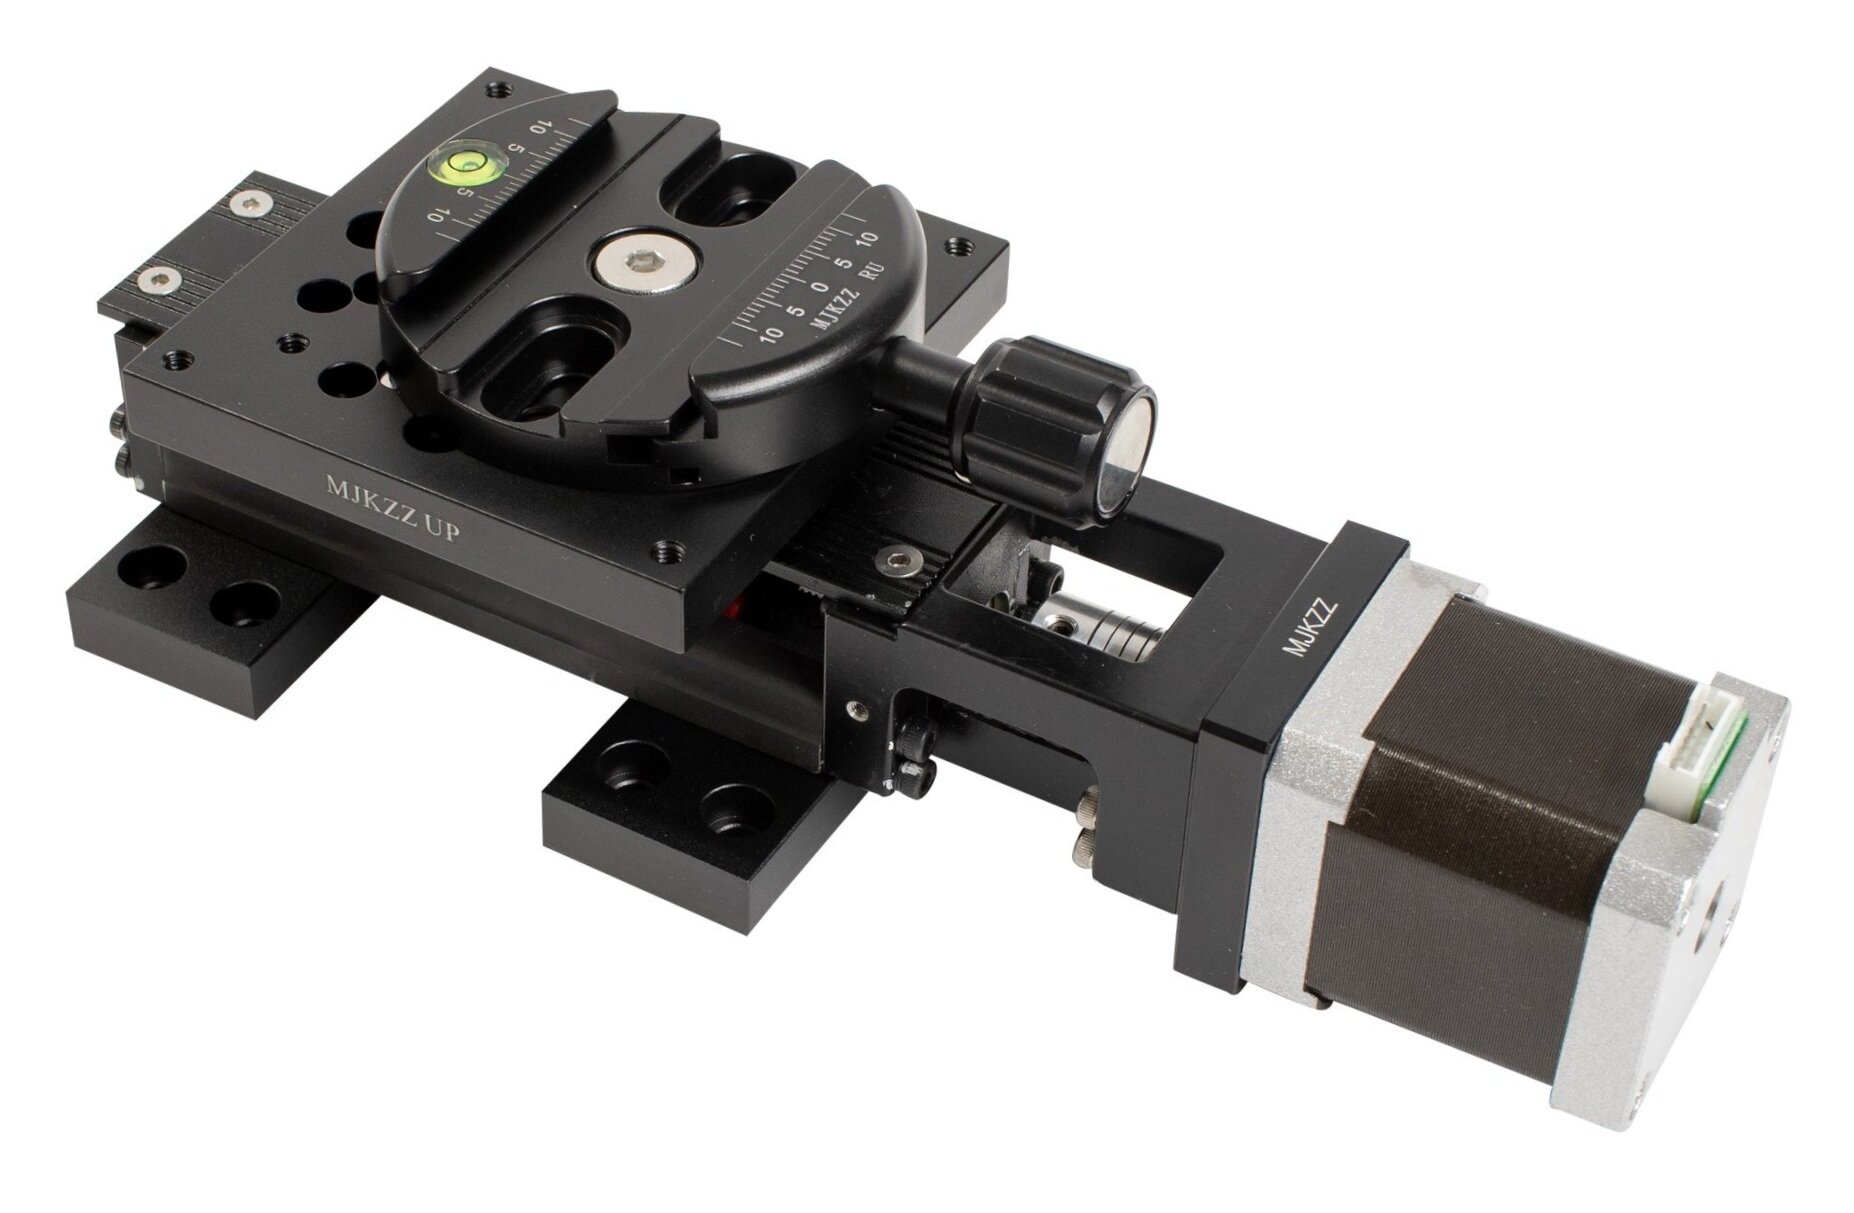
MJKZZ Ultra Mini-Rail Kit (incl. IR-Controller)
LED Lights (strip light and a panel) with a light box
Post processing:
Settings: f/4, 1/20 sec, ISO 160, around 3X magnification
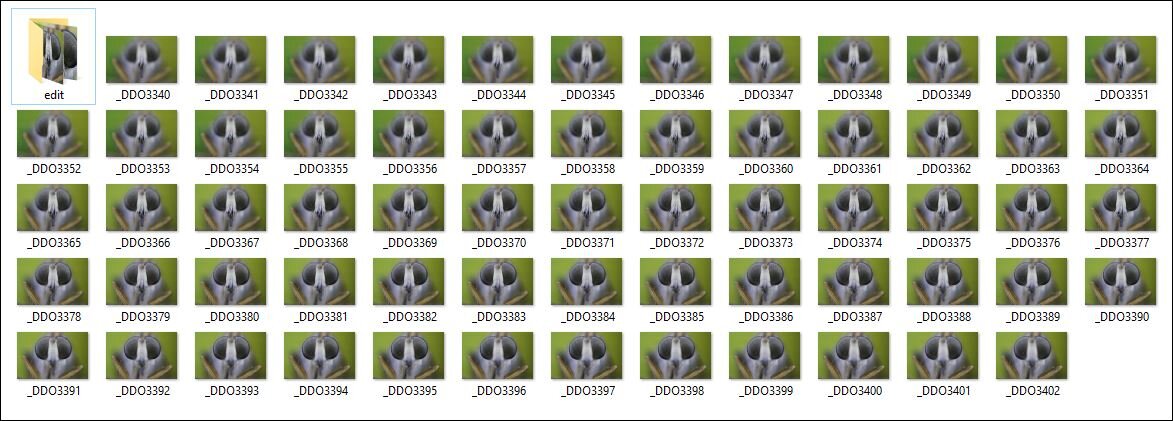
Used Helican Focus software for focus stacking (63 Raw files).
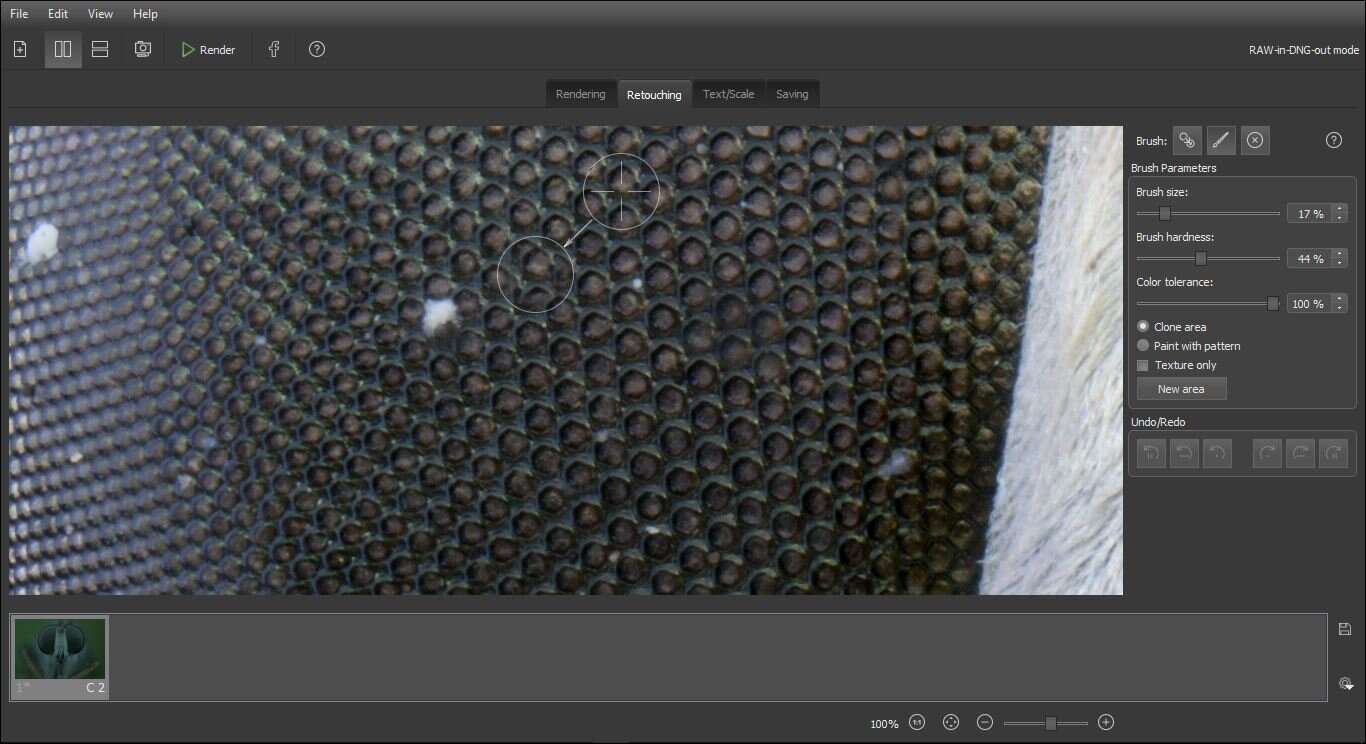
Used the same software to remove the duct particles of the stacked photograph.
Used Lightroom software to adjust the colors and sharpness.
Used Photoshop to resize the output as per my requirements (Ex: Save for web, save for Facebook quality, etc.)
Behind the scenes:
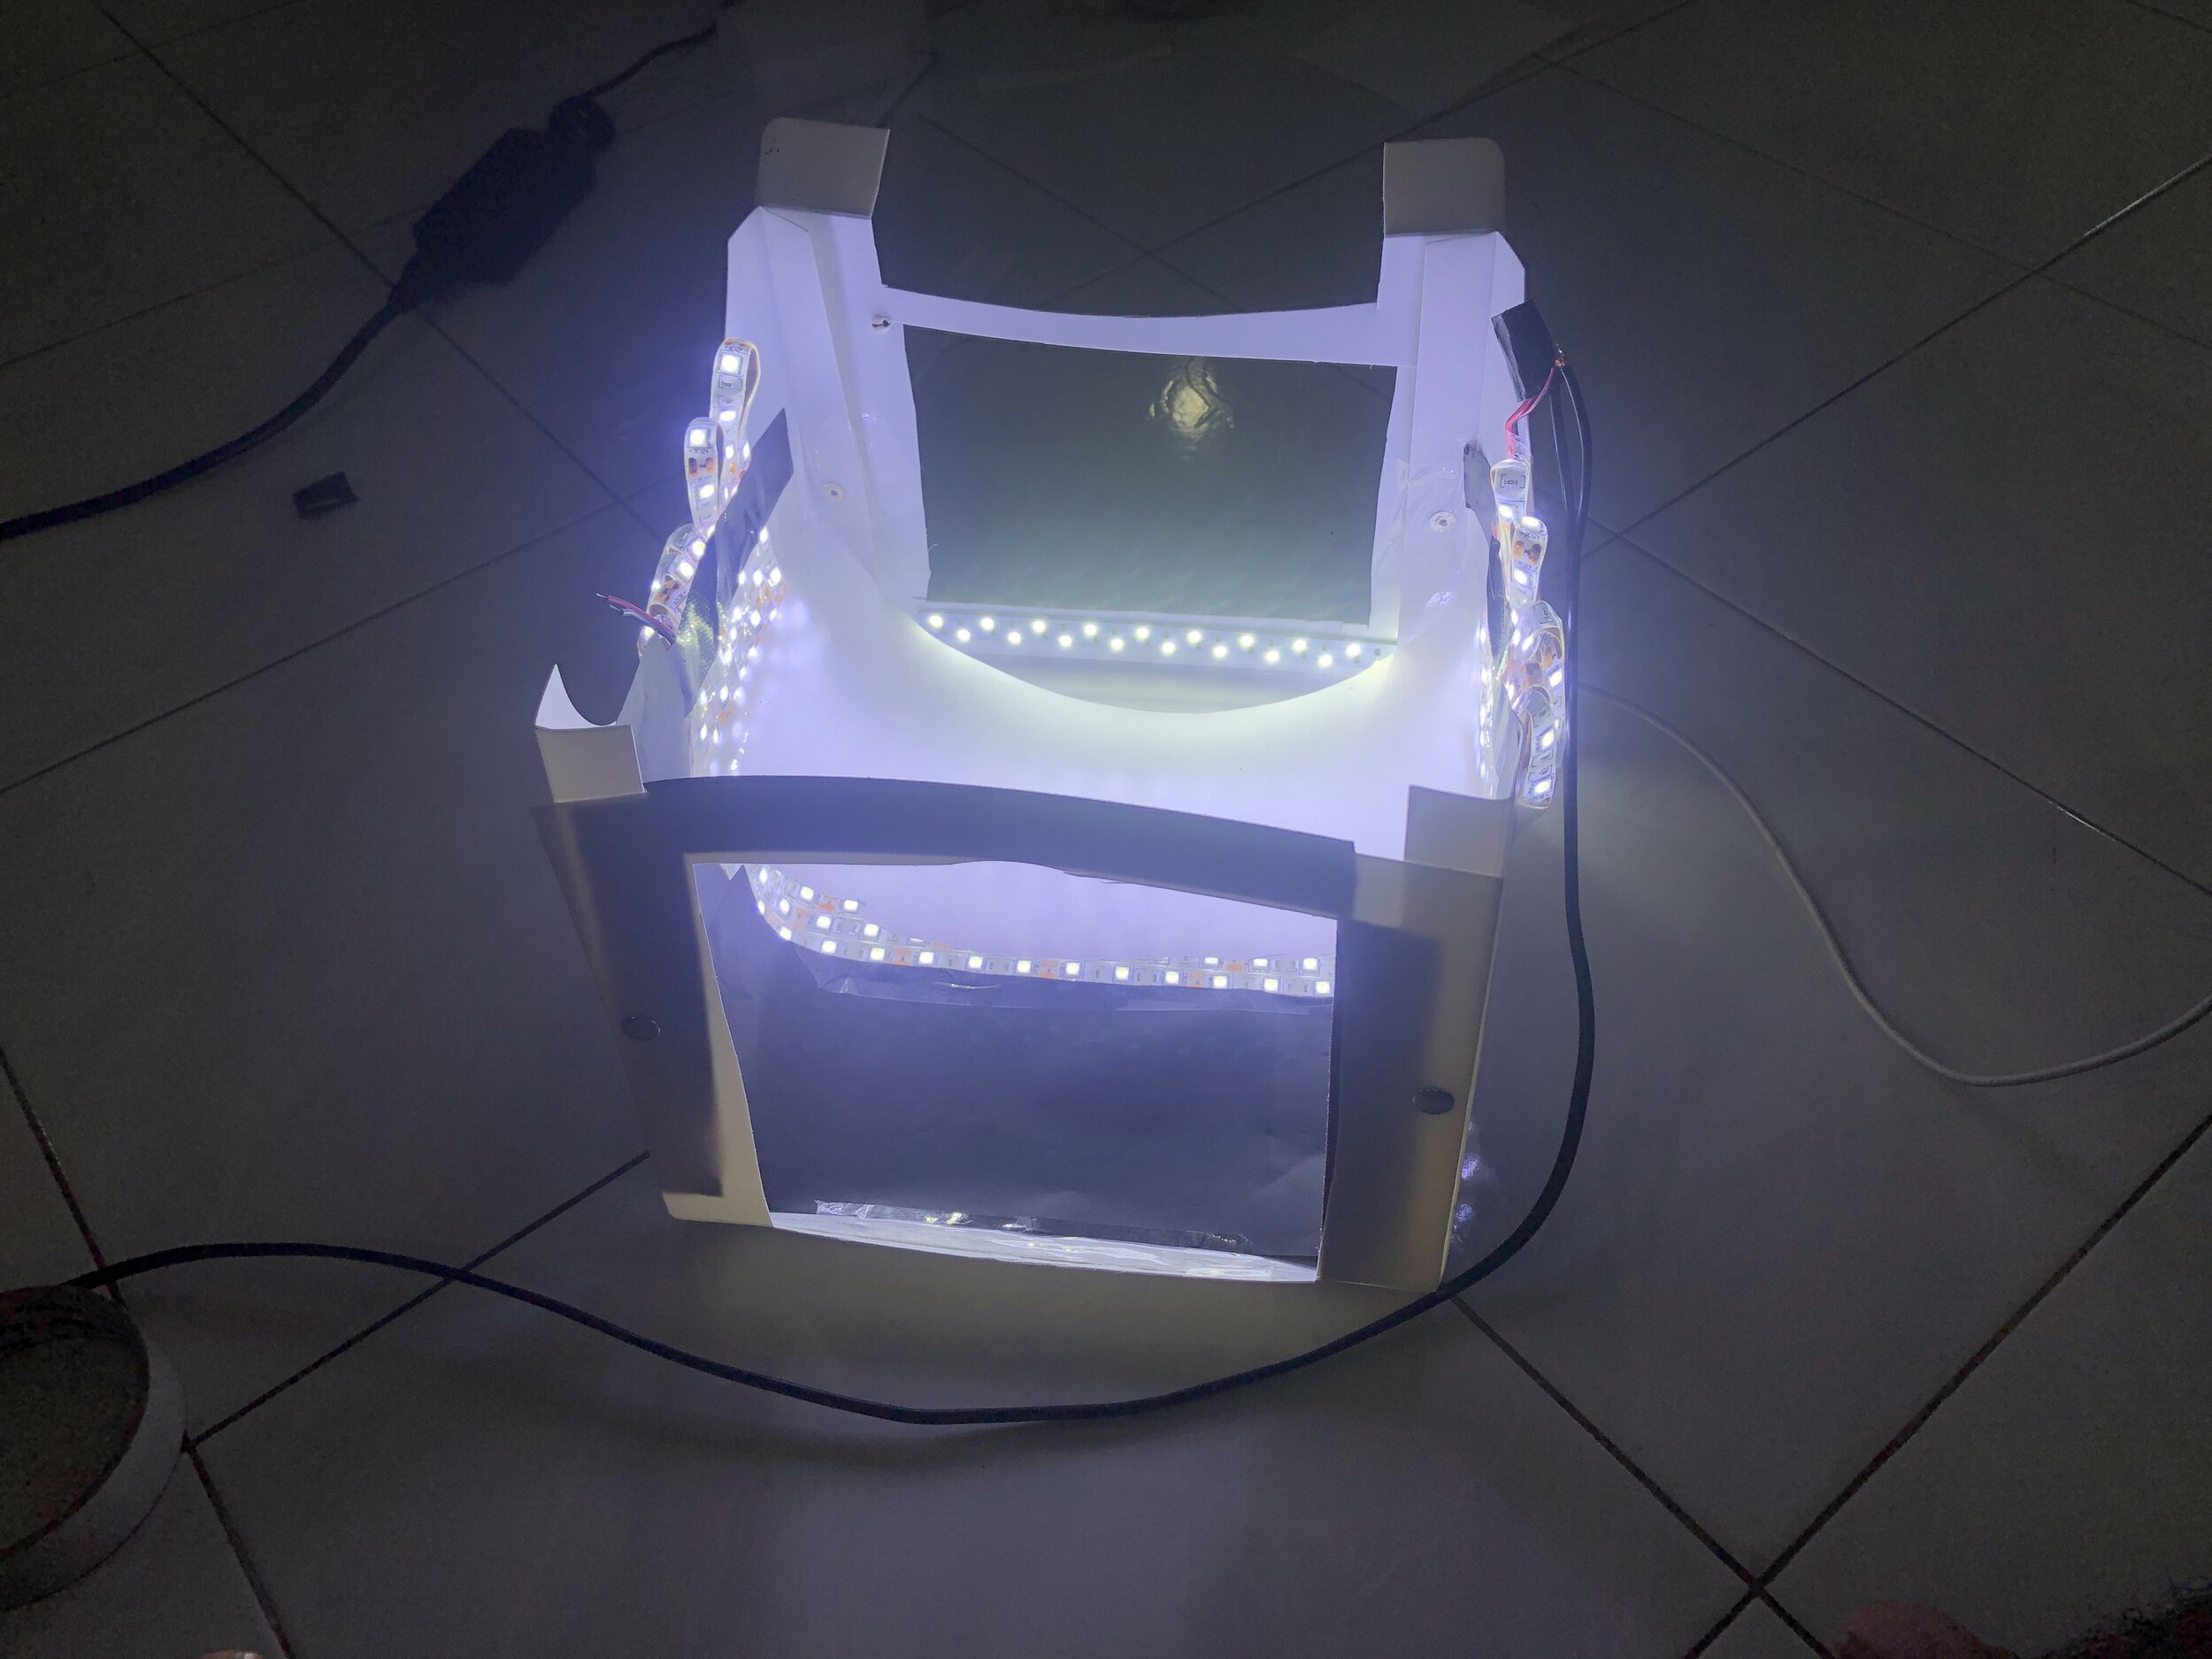
Used a LED strip light as the main lighting source.

Fixed the LED strip inside a light box. And covered by a tracing paper.

Light box with the LED strip light (after modification)
Pinned and framed the insect specimen as per my requirement (within the focusing range)

Tested the background by using a yellow color A4 sheet. Distance from the subject to this background was around 200mm.

Tested the background with a yellow color A4 sheet. Not satisfied with the output.

Used two color papers as my background. Distance from the subject to this background was increased (about 500mm).

Final background with the used two A4 sheets (Green and yellow)

Fixed the focusing range by using the MJKZZ mini rail and the controller.
Set the starting point (first photograph), end point (final photograph), time duration between two photographs, depth between two photographs (around 0.05 mm) by using the IR controller.
I will explain about this values and calculating methods by a separate blog article.
Focus stacking with Helicon Focus:
https://www.heliconsoft.com/heliconsoft-products/helicon-focus/

Conclusion:
I got lot of un-sharp outputs with ghosting edges when I used normal flashers for stacking photographs.
So I decided to try with this LED light system.
One of my friends (Gabriel Rodriguez) helped me by sharing his past experience and knowledge.
I got lot of experience during this process.
At the end, I don’t 100% satisfy with the final output (Ex: lack of 3D look). So, I did several changings since my next stacking (will explain in a separate blog articles).
Advices:
I have spent a considerable time period to recover this dead specimen by removing its debris and dust particles.
So, please don’t do any harm to the insects for your photography purposes. And please avoid using any type of live baiting to capture/ hold the living insects for your stacking purposes.
If you walk in your garden, you may find a specimen for your practicing. Or else you may try with another type of subjects (Ex: a needle head, a coin, a circuit board, a tip of a pen.. etc.).
Sony A6500:
https://www.sony.com/ng/electronics/interchangeable-lens-cameras/ilce-6500-body-kit

Laowa 25mm f/2.8 2.5-5X Ultra Macro
https://www.venuslens.net/product/laowa-25mm-f-2-8-2-5-5x-ultra-macro-2/

MJKZZ-Ultra Mini-Rail Kit (incl. IR-Controller)
https://www.mjkzz.de/products/ultra-rail-kit-small-incl-mjkzz-ir-controller?variant=18447788212339

Search the blog: